Step inside our interactive demo and explore Coro's platform firsthand HERE
Partners
Streamline security management, expand client protection.
Software Vendors
Empower your software with advanced cybersecurity
Telecommunications & Media
Secure telecom services with robust solutions.
Accelerate
Revenue Growth
Empower your business with Coro’s unmatched cybersecurity solutions and partner resources designed to maximize your revenue potential and drive exponential growth across global markets.
Partner With UsWhy Coro?
Choose Coro for seamless, AI-driven cybersecurity. No integration required—just powerful protection across all endpoints with a single, easy-to-use platform.
Read MoreAutomotive
Achieve compliance and guard against threats.
Education
Keep schools safe for students and teachers.
Finance
Protect data, transactions, and operations.
Government
Guard against threats to local and national agencies.
Healthcare
Meet regulatory requirements and protect privacy.
IT Service Providers
Optimize resources and secure organizations.
Manufacturing
Reduce risk and keep operations uninterrupted.
Software & Technology
Focus on innovation and not cyber threats.
Trucking
Secure transportation for the
road ahead.
road ahead.
Compliance
Learn how our cybersecurity solutions seamlessly align with and simplify adherence to the regulations relevant to your business.
Glossary
Navigate our Glossary for clear definitions and detailed explanations of key cybersecurity concepts and terminology.
Try The Sandbox
Step inside our interactive demo and explore Coro's powerful cybersecurity platform.
Partner Portal
Watch a Demo
Start a Trial
Try The Sandbox
Compliance Survey
Become a Partner
Contact Sales
Get Support
Watch a Demo
Explore our collection of recorded product demonstrations to witness Coro in action.
Watch it nowSee how much time you could save with Coro guarding your business:
Instantly handle 95%+ of email threats
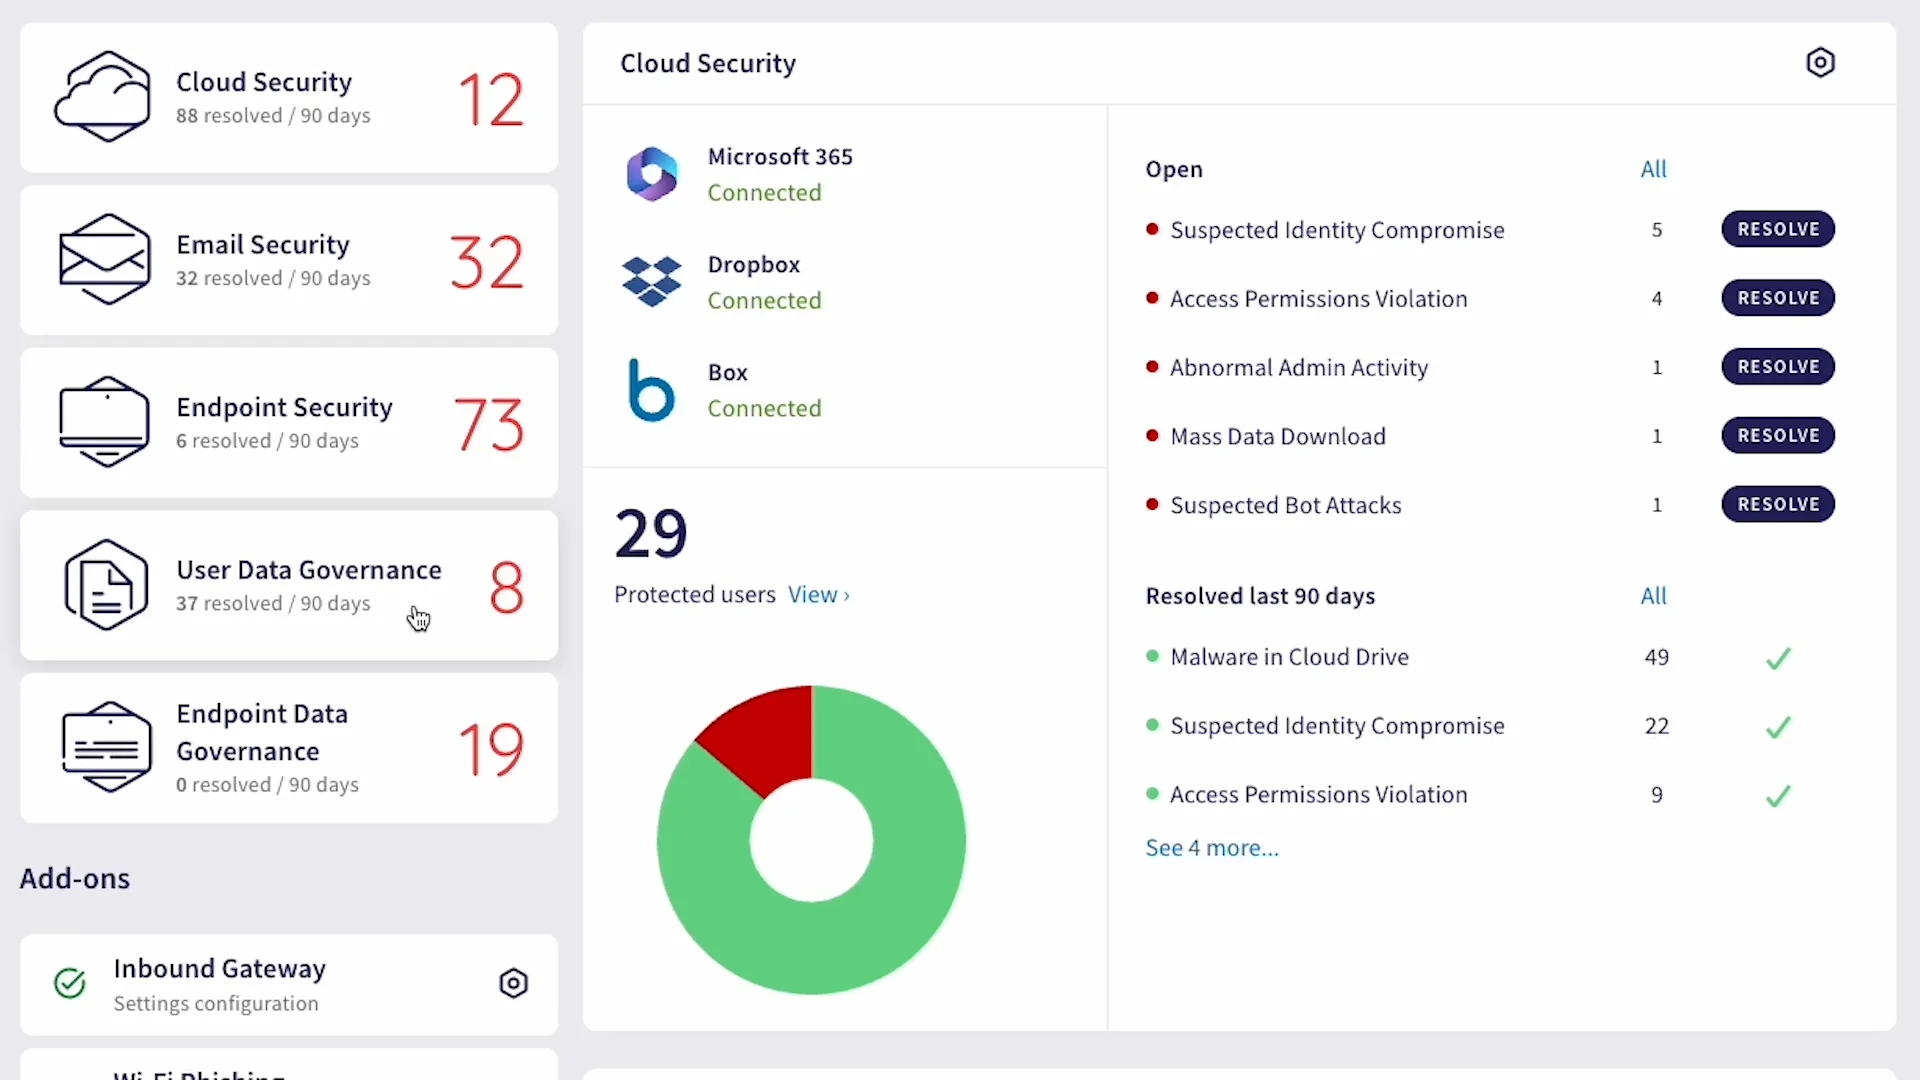
Monitor cloud app security from a single dashboard
Protect devices across the threat landscape
Prevent data loss with a deceivingly simple solution

Start a Free Trial
Try Coro for Free for the Next 30 Days
Experience Coro’s Platform
Explore Coro’s interactive demo sandbox for a hands-on experience with our powerful cybersecurity platform.
Try the sandboxBuild Your Compliance Report
Does your business satisfy security regulations? Take the survey to learn how your industry, services, and location can impact your compliance posture.
Take the Compliance Survey
Become a partner today
Turn your cybersecurity business into a revenue center

Contact Sales
Receive comprehensive information about our product, pricing, and technical details straight from our specialists.


